Virtualization is a powerful technology that allows users to create multiple virtual machines on a single physical machine. It enables users to run multiple operating systems and applications simultaneously without requiring additional hardware. There are several virtualization platforms available, but one of the most popular is LIBVIRT/QEMU/KVM. In this blog post, we will guide you through the process of installing and managing virtual machines with LIBVIRT/QEMU/KVM.
Table of Contents
Requirements
Before we begin, there are some requirements that need to be met for QEMU/KVM virtualization to work properly:
- A CPU with hardware virtualization support (Intel VT-x or AMD-V)
- Sufficient RAM and disk space to create and run virtual machines
Check Virtualization Support
First, we need to check whether the CPU supports hardware virtualization. To do this, open a terminal and run the following command:
egrep -c '(vmx|svm)' /proc/cpuinfoIf the output is greater than zero, then the CPU supports virtualization. If the output is zero, then the CPU does not support virtualization.
Note: To use QEMU/KVM, You need a CPU with hardware virtualization support (Intel VT-x or AMD-V) and that need to be enabled in BIOS
Install QEMU/KVM and LIBVIRT
Ubuntu/Debian
sudo apt install qemu-kvm libvirt-clients libvirt-daemon libvirt-daemon-system virtinst bridge-utilsThese packages are essential for setting up and managing virtualization technologies on Ubuntu/Debian. QEMU-KVM is a popular virtualization platform that uses QEMU emulator and KVM hypervisor, while LIBVIRT provides APIs and tools for interacting with virtualization technologies. VIRTINST is a command-line tool for creating and installing virtual machines, which can be useful for automating the deployment of virtual machines and BRIDGE-UTILS is used for configuring network bridge devices.
Note: If virtinst is missing in the default repo add universe repo for Ubuntu and continue.
sudo add-apt-repository universeEnable & start libvirt
sudo systemctl enable --now libvirtdCentOS/Rocky Linux/RHEL
sudo yum install qemu-kvm qemu-img libvirt virt-viewer virt-install bridge-utilsQEMU-KVM a virtualization platform based on the QEMU emulator and the KVM hypervisor. QEMU-IMG a command-line tool for creating, converting, and modifying disk images for use with QEMU and other virtualization platforms, LIBVIRT provides APIs and tools for interacting with virtualization technologies. VIRT-VIEWER a lightweight graphical tool for viewing virtual machines using the SPICE protocol. VIRT-INSTALL a command-line tool for creating and installing virtual machines and BRIDGE-UTILS a set of utilities used for configuring network bridge devices.
Enable & start libvirt on CentOS/Rocky Linux/RHEL
sudo systemctl enable --now libvirtdInstall Virt-Manager GUI for KVM
To manage virtual machines, we can use a GUI application called Virt-Manager. To install Virt-Manager on Ubuntu/Debian
sudo apt install virt-managerFor CentOS/Rocky Linux/RHEL7
sudo yum install virt-managerRun KVM Virt-Manager
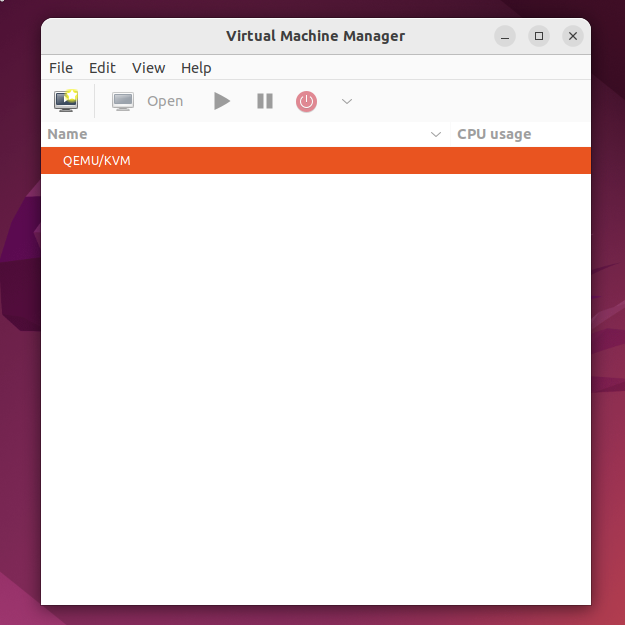
To launch Virt-Manager, open the Applications menu and search for “Virtual Machine Manager”. Alternatively, you can launch it from the command line by running:
sudo virt-managerCreate Virtual Machines
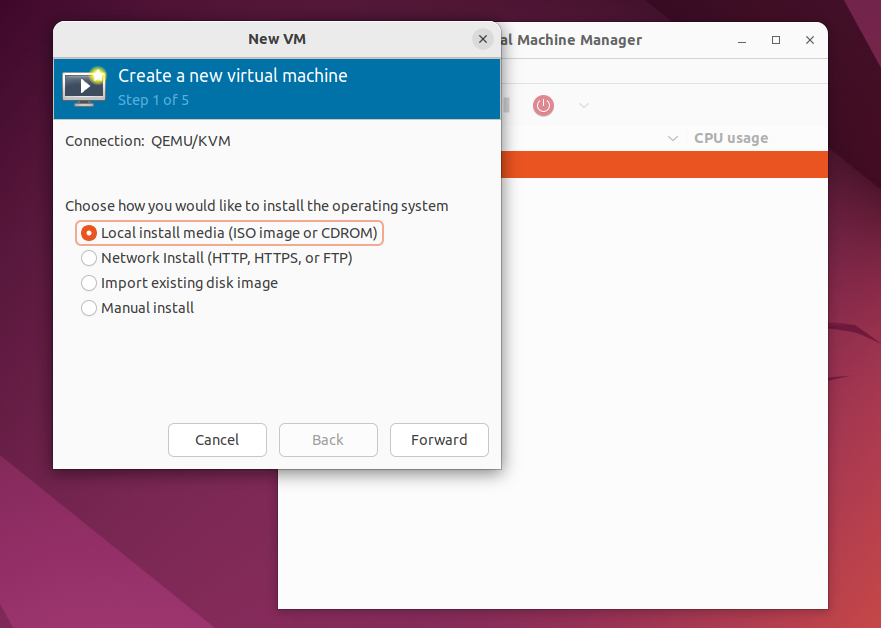
To create a virtual machine, launch Virt-Manager and click on the “New VM” button. This will launch the “New Virtual Machine” wizard. Follow the steps below to create a new virtual machine:
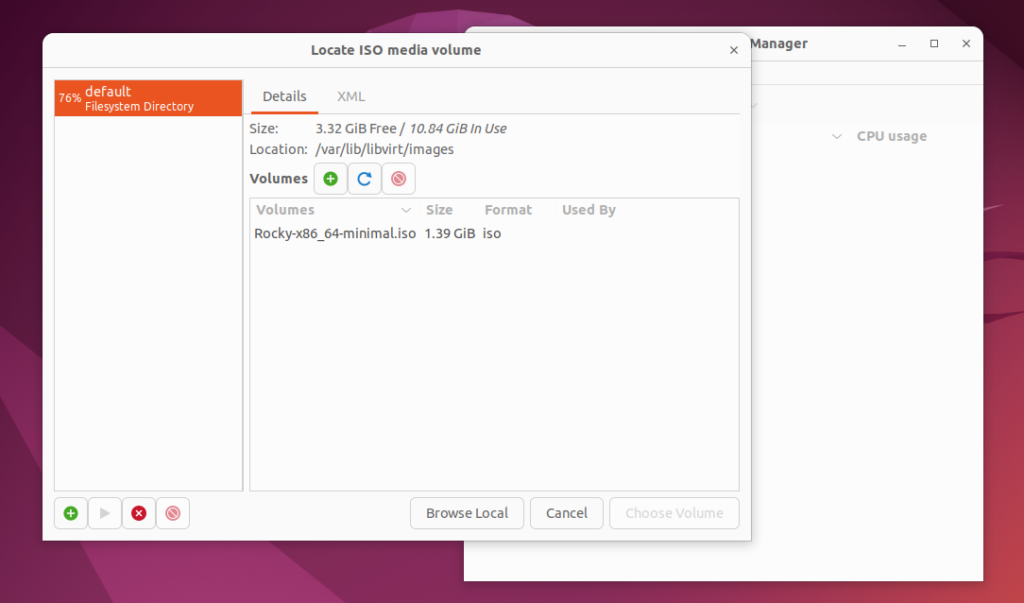
Locate ISO Media Volume: In the first step, select the installation media for the operating system you want to install on the virtual machine. This can be an ISO file or a physical CD/DVD.
Choose Memory and CPU Settings: In the second step, configure the amount of RAM and CPU cores that the virtual machine will use. The default settings are usually sufficient for most use cases.
Create Qemu Virtual Disk Image: In the third step, create a virtual disk image to use as the primary storage for the virtual machine. You can choose the size and format of the virtual disk image.
Network – KVM: In the fourth step, configure the network settings for the virtual machine. You can choose between different network modes, such as NAT or bridged networking.
Note: if the default virtual network is not automatically started, you can use the virsh net-start <network-name> command to manually start the virtual network. Replace <network-name> with the name of the virtual network you want to start. Starting the virtual network is essential for proper connectivity and communication between virtual machines.
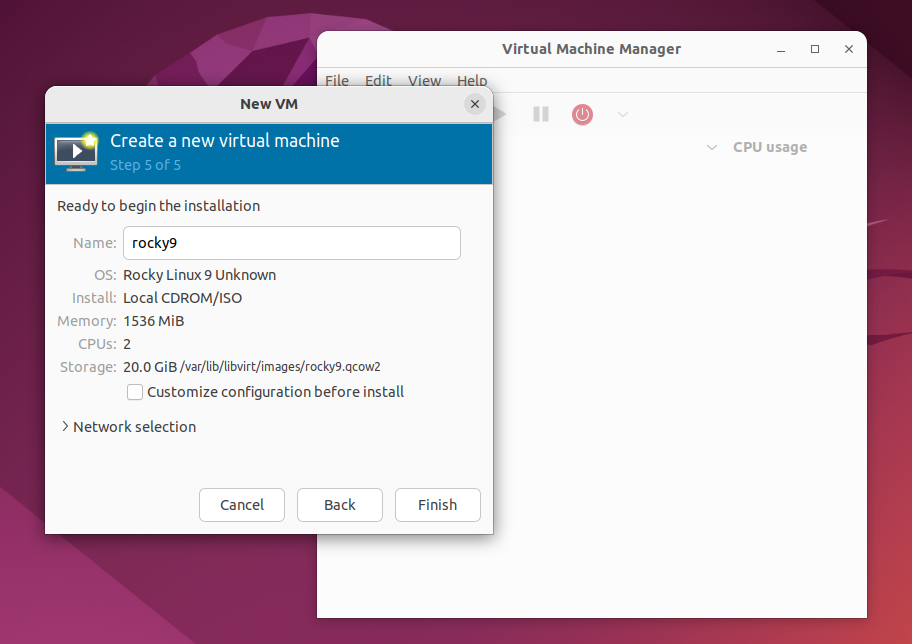
Once you have completed the steps in the wizard, the virtual machine will be created and ready to use.
Creating VM using CLI
To create a virtual machine (VM) using the command-line interface (CLI) with QEMU/KVM and libvirt, follow the steps below:
- Open a terminal or SSH into your host server.
- Use the
virt-installcommand to create the VM.
virt-install --name my-vm \
--ram 2048 \
--vcpus 2 \
--disk path=/var/lib/libvirt/images/my-vm.qcow2,size=20 \
--os-type linux \
--os-variant ubuntu20.04 \
--network bridge=br0 \
--graphics none \
--console pty,target_type=serial \
--location /path/to/iso/image.iso \
--extra-args 'console=ttyS0,115200n8 serial'
Let’s break down the options used in the command:
--name: Specify the name for your VM (e.g.,my-vm).--ram: Set the amount of RAM in megabytes for the VM (e.g.,2048).--vcpus: Define the number of virtual CPUs for the VM (e.g.,2).--disk: Specify the path and size of the VM’s disk image (e.g.,/var/lib/libvirt/images/my-vm.qcow2,size=20).--os-typeand--os-variant: Set the type and variant of the VM’s operating system (e.g.,linuxandubuntu20.04for Ubuntu 20.04).--network bridge=br0: Connect the VM to a network bridge (e.g.,br0).--graphics none: Disable graphical output (console only).--console pty,target_type=serial: Connect the VM’s console to a virtual serial port.--location: Specify the path to the installation ISO image.--extra-args: Pass additional kernel arguments to the installer.
Modify the command with appropriate values based on your requirements.
- Execute the
virt-installcommand. This will start the VM creation process.
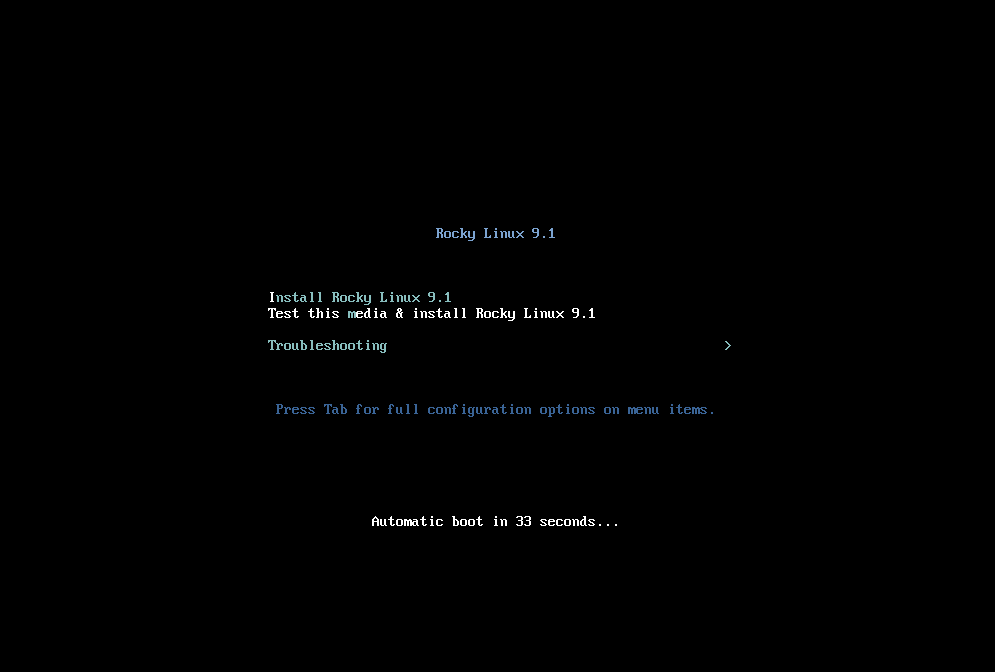
- Follow the installation prompts based on your chosen operating system and installer. The console will display the installation progress.
- Once the installation is complete, you can manage the VM using
virshor graphical management interfaces like Virt-Manager.
By following these steps, you can create a virtual machine using the CLI with QEMU/KVM and libvirt. Customize the command with the desired parameters for your specific VM configuration and operating system.
Conclusion
In this blog post, we explained about how to use libvirt/qemu/kvm on Ubuntu/Debian and CentOS/Rocky Linux/RHEL to set up and manage virtual machines. With this powerful virtualization technology, it’s easy to set up and manage multiple virtual machines on a single physical machine. This gives your computing environment more flexibility and efficiency. By following the steps in this guide.
Links:
- https://www.qemu.org/
- https://www.linux-kvm.org/
- https://libvirt.org/
- https://access.redhat.com/documentation/en-us/red_hat_enterprise_linux/7/html/virtualization_deployment_and_administration_guide/index
Got any queries or feedback? Feel free to drop a comment below!