
AWS serves as one of the gateways to the cloud. In this guide, I’ll walk you through the process of AWS account creation. Now let’s get started and work through the complexities of setting up an AWS account together. Let’s dive in and simplify the process.
Table of Contents
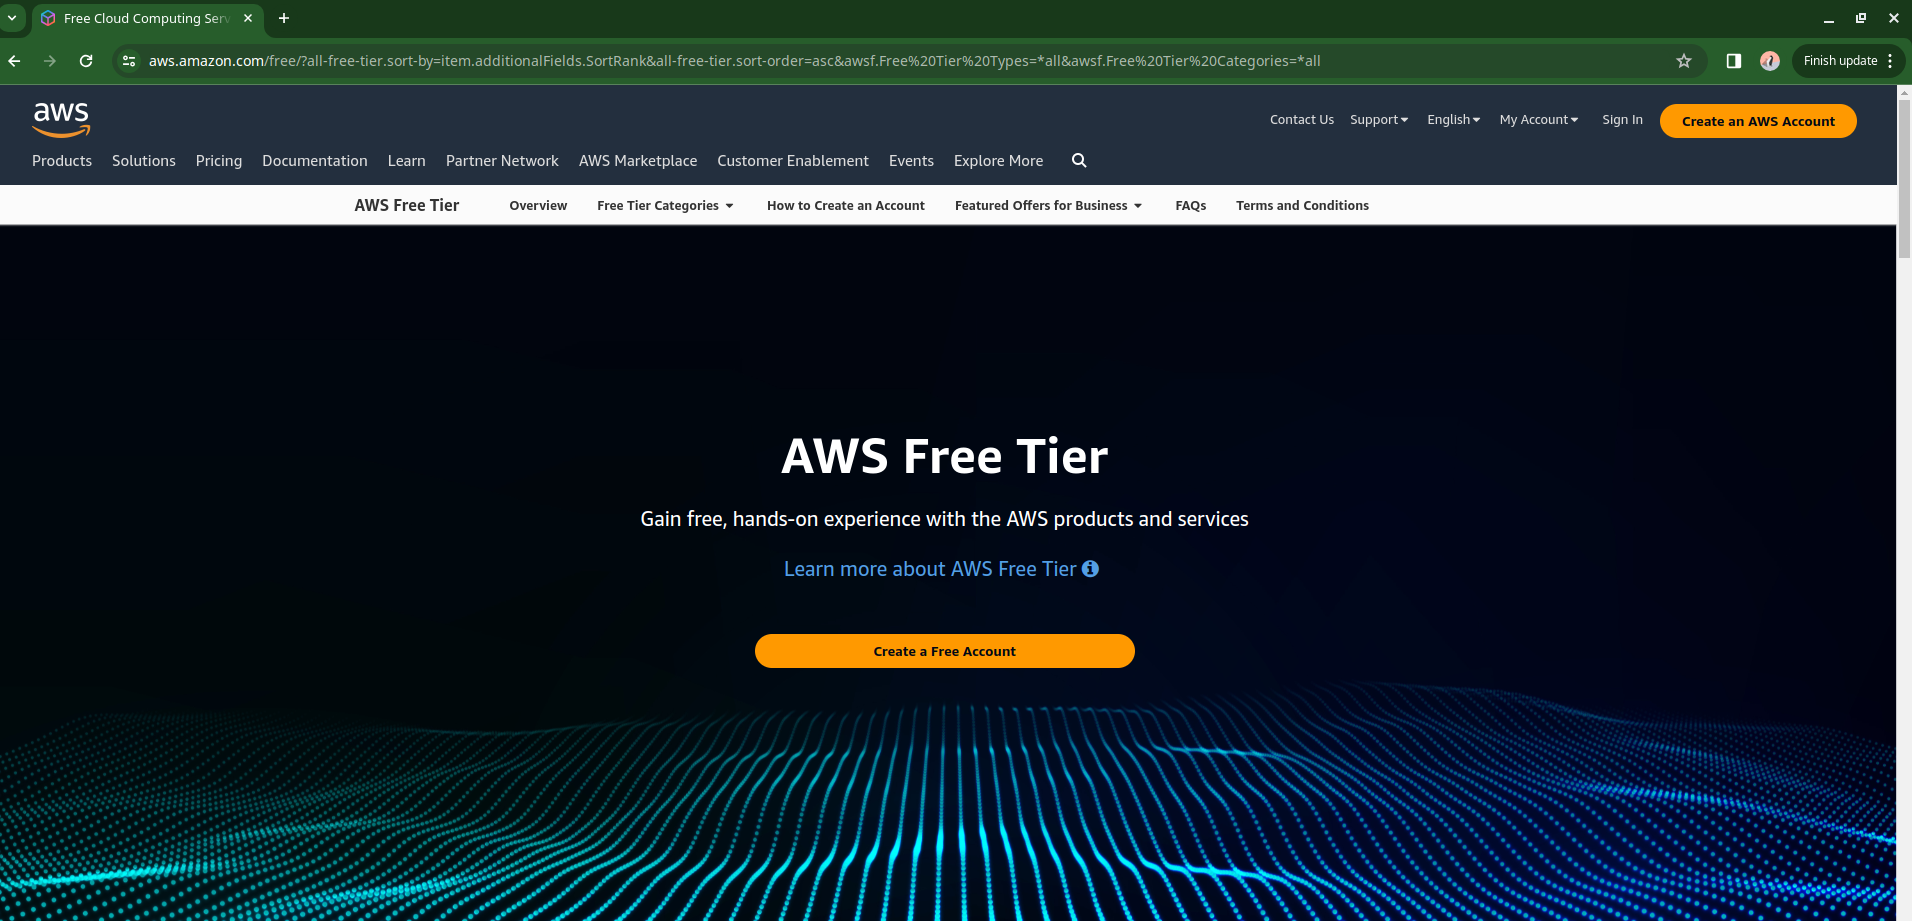
AWS Account Creation
- Go to the AWS Free Tier Page and click on “Create a Free Account.“
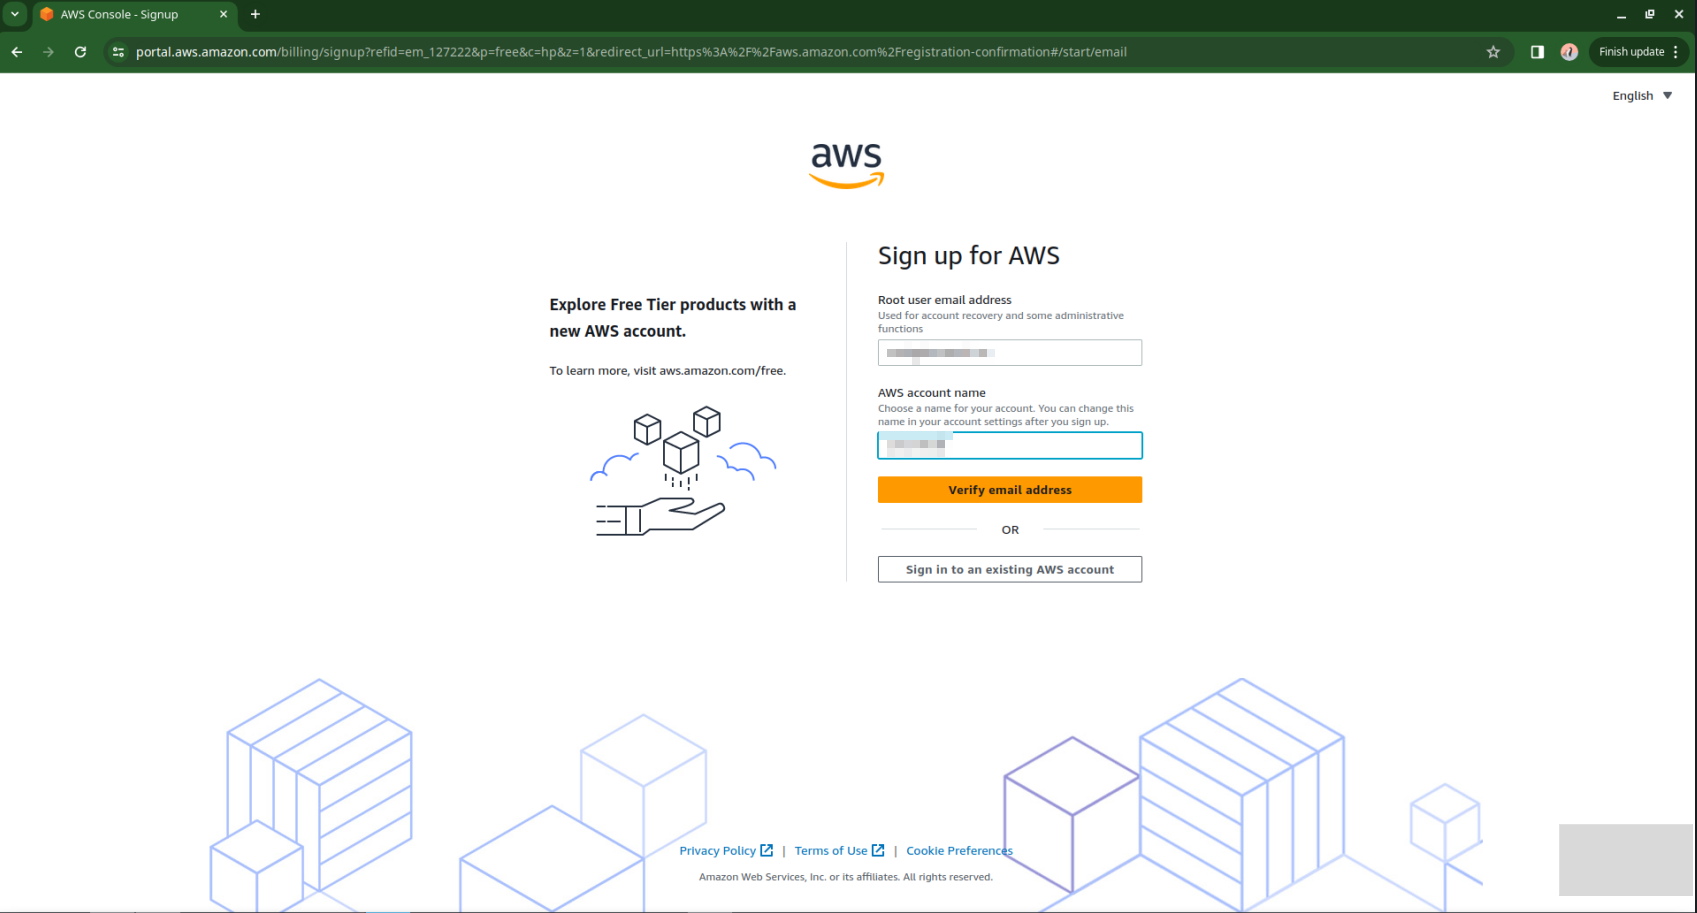
- Enter your desired login details and click “Continue.”
- Choose a suitable support plan from AWS
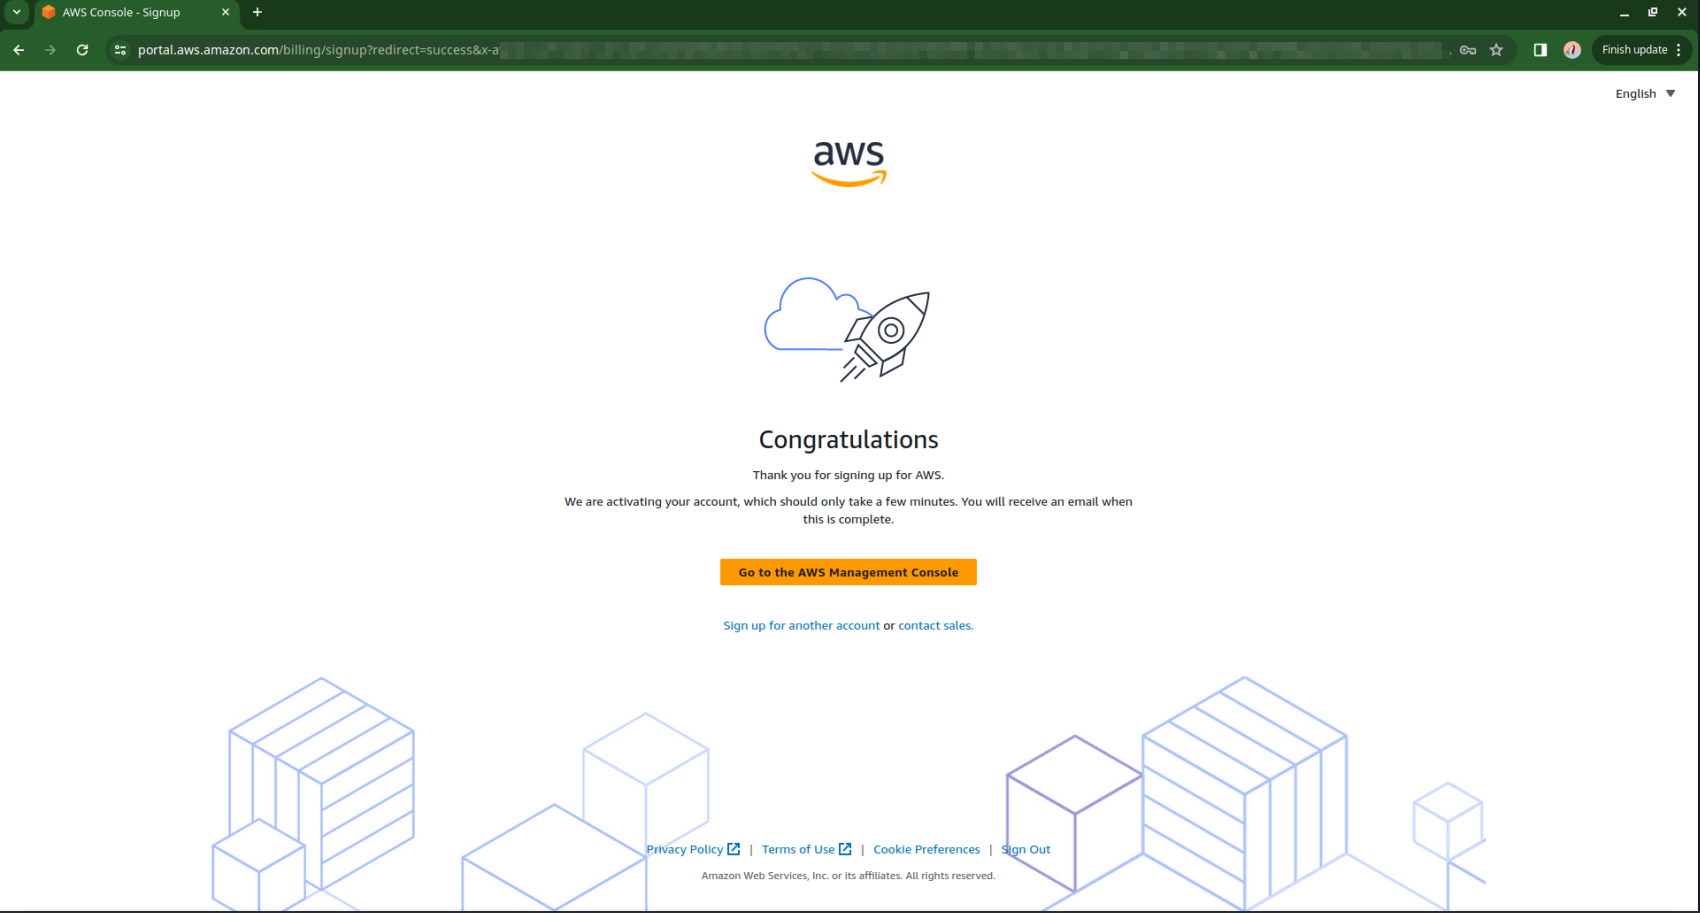
- Your account will be processed for activation, You will receive an email confirmation that your Amazon Cloud Services account has been activated.
Create User and Access Keys
- Sign in to the AWS Management Console:
- Go to aws.amazon.com and sign in to the AWS Management Console using your AWS account credentials.
- Navigate to IAM (Identity and Access Management):
- In the AWS Management Console, search for “IAM”
- Create a New IAM User:
- In the IAM dashboard, click on “Users” in the left-hand navigation pane.
- Click on the “Create user” button.
- Enter a username for the new IAM user.
- Select “Provide user access to the AWS Management Console”.
- choose “I want to create an IAM user”
- Click on “Next: Permissions”.
- Set Permissions:
- Attach policies to the user based on the permissions they need. You can choose to add existing policies or create custom ones.
- Add Tags (optional): You can add tags to the user for better organization.
- Review and Create:
- Review the user details, permissions, and tags.
- Click on “Create user”.
- Access Keys:
- After the user is created, you’ll see a confirmation screen with the user’s details.
- Now navigate to the user page and under “Security credentials”, click on the “Create access key” button.
- Take note of the Access Key ID and Secret Access Key. These will be needed to authenticate the user programmatically.
- Download Access Key (optional):
- You can download the access key details as a .csv file for safekeeping.
- Finish:
- Once you have noted down the access key details, click on “Close” to finish the process.
Configure AWS CLI
These steps will help you set up the AWS Command Line Interface (CLI):
- Install the AWS CLI:
- If you haven’t already installed the AWS CLI, you can do so by following the instructions provided in the AWS documentation for your operating system. You can find the installation guide here: how-to-install-aws-cli
- Open a Terminal or Command Prompt:
- Once the AWS CLI is installed, open a terminal
- Run the AWS Configure Command:
- In the terminal or command prompt, type the following command:
aws configure
- In the terminal or command prompt, type the following command:
- Enter the AWS Access Key ID:
- You will be prompted to enter your AWS Access Key ID. This is the access key of the IAM user you created earlier.
- Enter the AWS Secret Access Key:
- Next, you will be prompted to enter your AWS Secret Access Key. This is the secret key associated with the Access Key ID.
- Specify the default region:
- You will be asked to specify a default region. Enter the AWS region you want to use (e.g., us-east-1, us-west-2, etc.).
- Specify the output format:
- Finally, you’ll be asked to choose the output format. You can pick from json, yaml, yaml-stream, text, or table.
- Test your configuration:
- To test your configuration, you can run a simple AWS CLI command, such as:
aws s3 ls - This command should list the contents of your S3 buckets if your configuration is correct and you have permissions to access S3.
- To test your configuration, you can run a simple AWS CLI command, such as:
With these steps, you have successfully configured the AWS CLI on your system. You can now use the AWS CLI to interact with AWS services using your IAM user credentials.


Conclusion
Following these steps, you will be able to set up their AWS account, create IAM users with proper rights, and configure the AWS Command Line Interface for easier interaction with AWS services. Remember to prioritize security by keeping access keys safe and constantly evaluating permissions.
Got any queries or feedback? Feel free to drop a comment below!
I found it helpful and easy to follow as I begin my AWS journey…