
Create A User In Linux is considered a basic system administration task. User accounts in a Linux system are of two types, privileged users and unprivileged users. The default privileged user is ‘root’. This user account has full access to everything on a Linux server. The root user account was set up specifically for performing system administration tasks. It is recommended to use an unprivileged user account for all other tasks.
In this How-To guide, I will walk through the steps to create a new user on a Linux-based operating system.
Table of Contents
Adding New User
Creating users on a Linux system offers multiple options. To begin, you can edit the contents of the /etc/passwd and /etc/shadow files directly. Another method is using the useradd utility, which is recommended for creating users.
Note: When editing the /etc/passwd and /etc/shadow files on a Linux system, it’s important to be aware of what changes you are making. Any error in these files could block anyone from logging in.
If you prefer to modify configuration files directly, use vipw for editing password and shadow files, or vigr for group and shadow-group files. These commands apply appropriate locks to prevent file corruption, Always make sure that you know what you are doing.
Add User Using useradd Command
The useradd command is used to create a new user account on a Linux system. It adds the user to the system and sets up the necessary files and directories for the user.
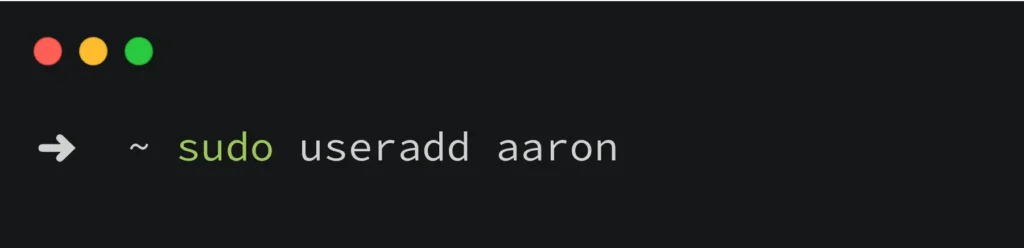
sudo useradd [options] username
Some default values are expected when you use useradd to create a new user account.These default values are configured in two main configuration files: /etc/login.defs and /etc/default/useradd. Let’s look at how these files change the way the useradd works.
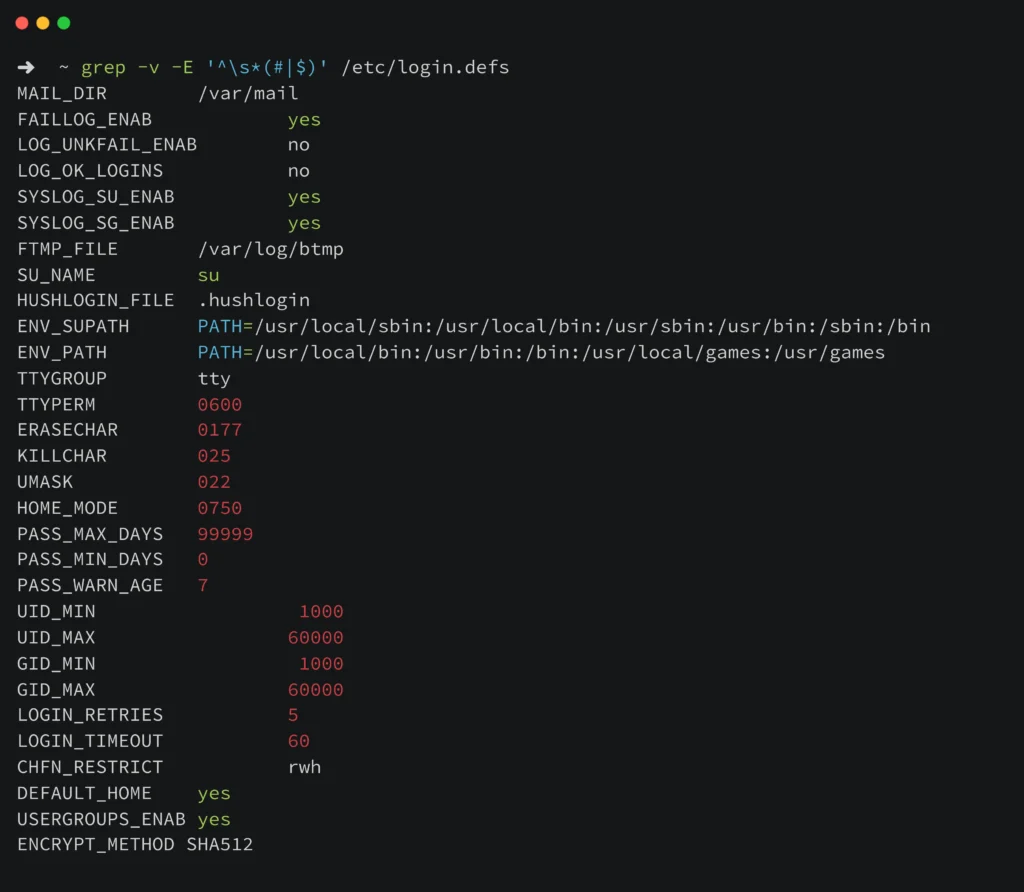
/etc/login.defs
The /etc/login.defs file contains default settings for user account attributes such as UID (User ID) range, password aging policy, and default home directory settings. Modifying this will reflect in system-wide defaults for user accounts.
Some key parameters defined in /etc/login.defs that influence useradd behavior include:
UID_MIN: Specifies the minimum UID value allowed for new user accounts.
UID_MAX: Specifies the maximum UID value allowed for new user accounts.
PASS_MAX_DAYS: Maximum number of days a password may be used.
PASS_MIN_DAYS: Minimum number of days allowed between password changes.
PASS_WARN_AGE: Number of days warning given before a password expires.
CREATE_HOME: Controls whether user home directories are created by default (yes or no).
Read more about the /etc/login.defs
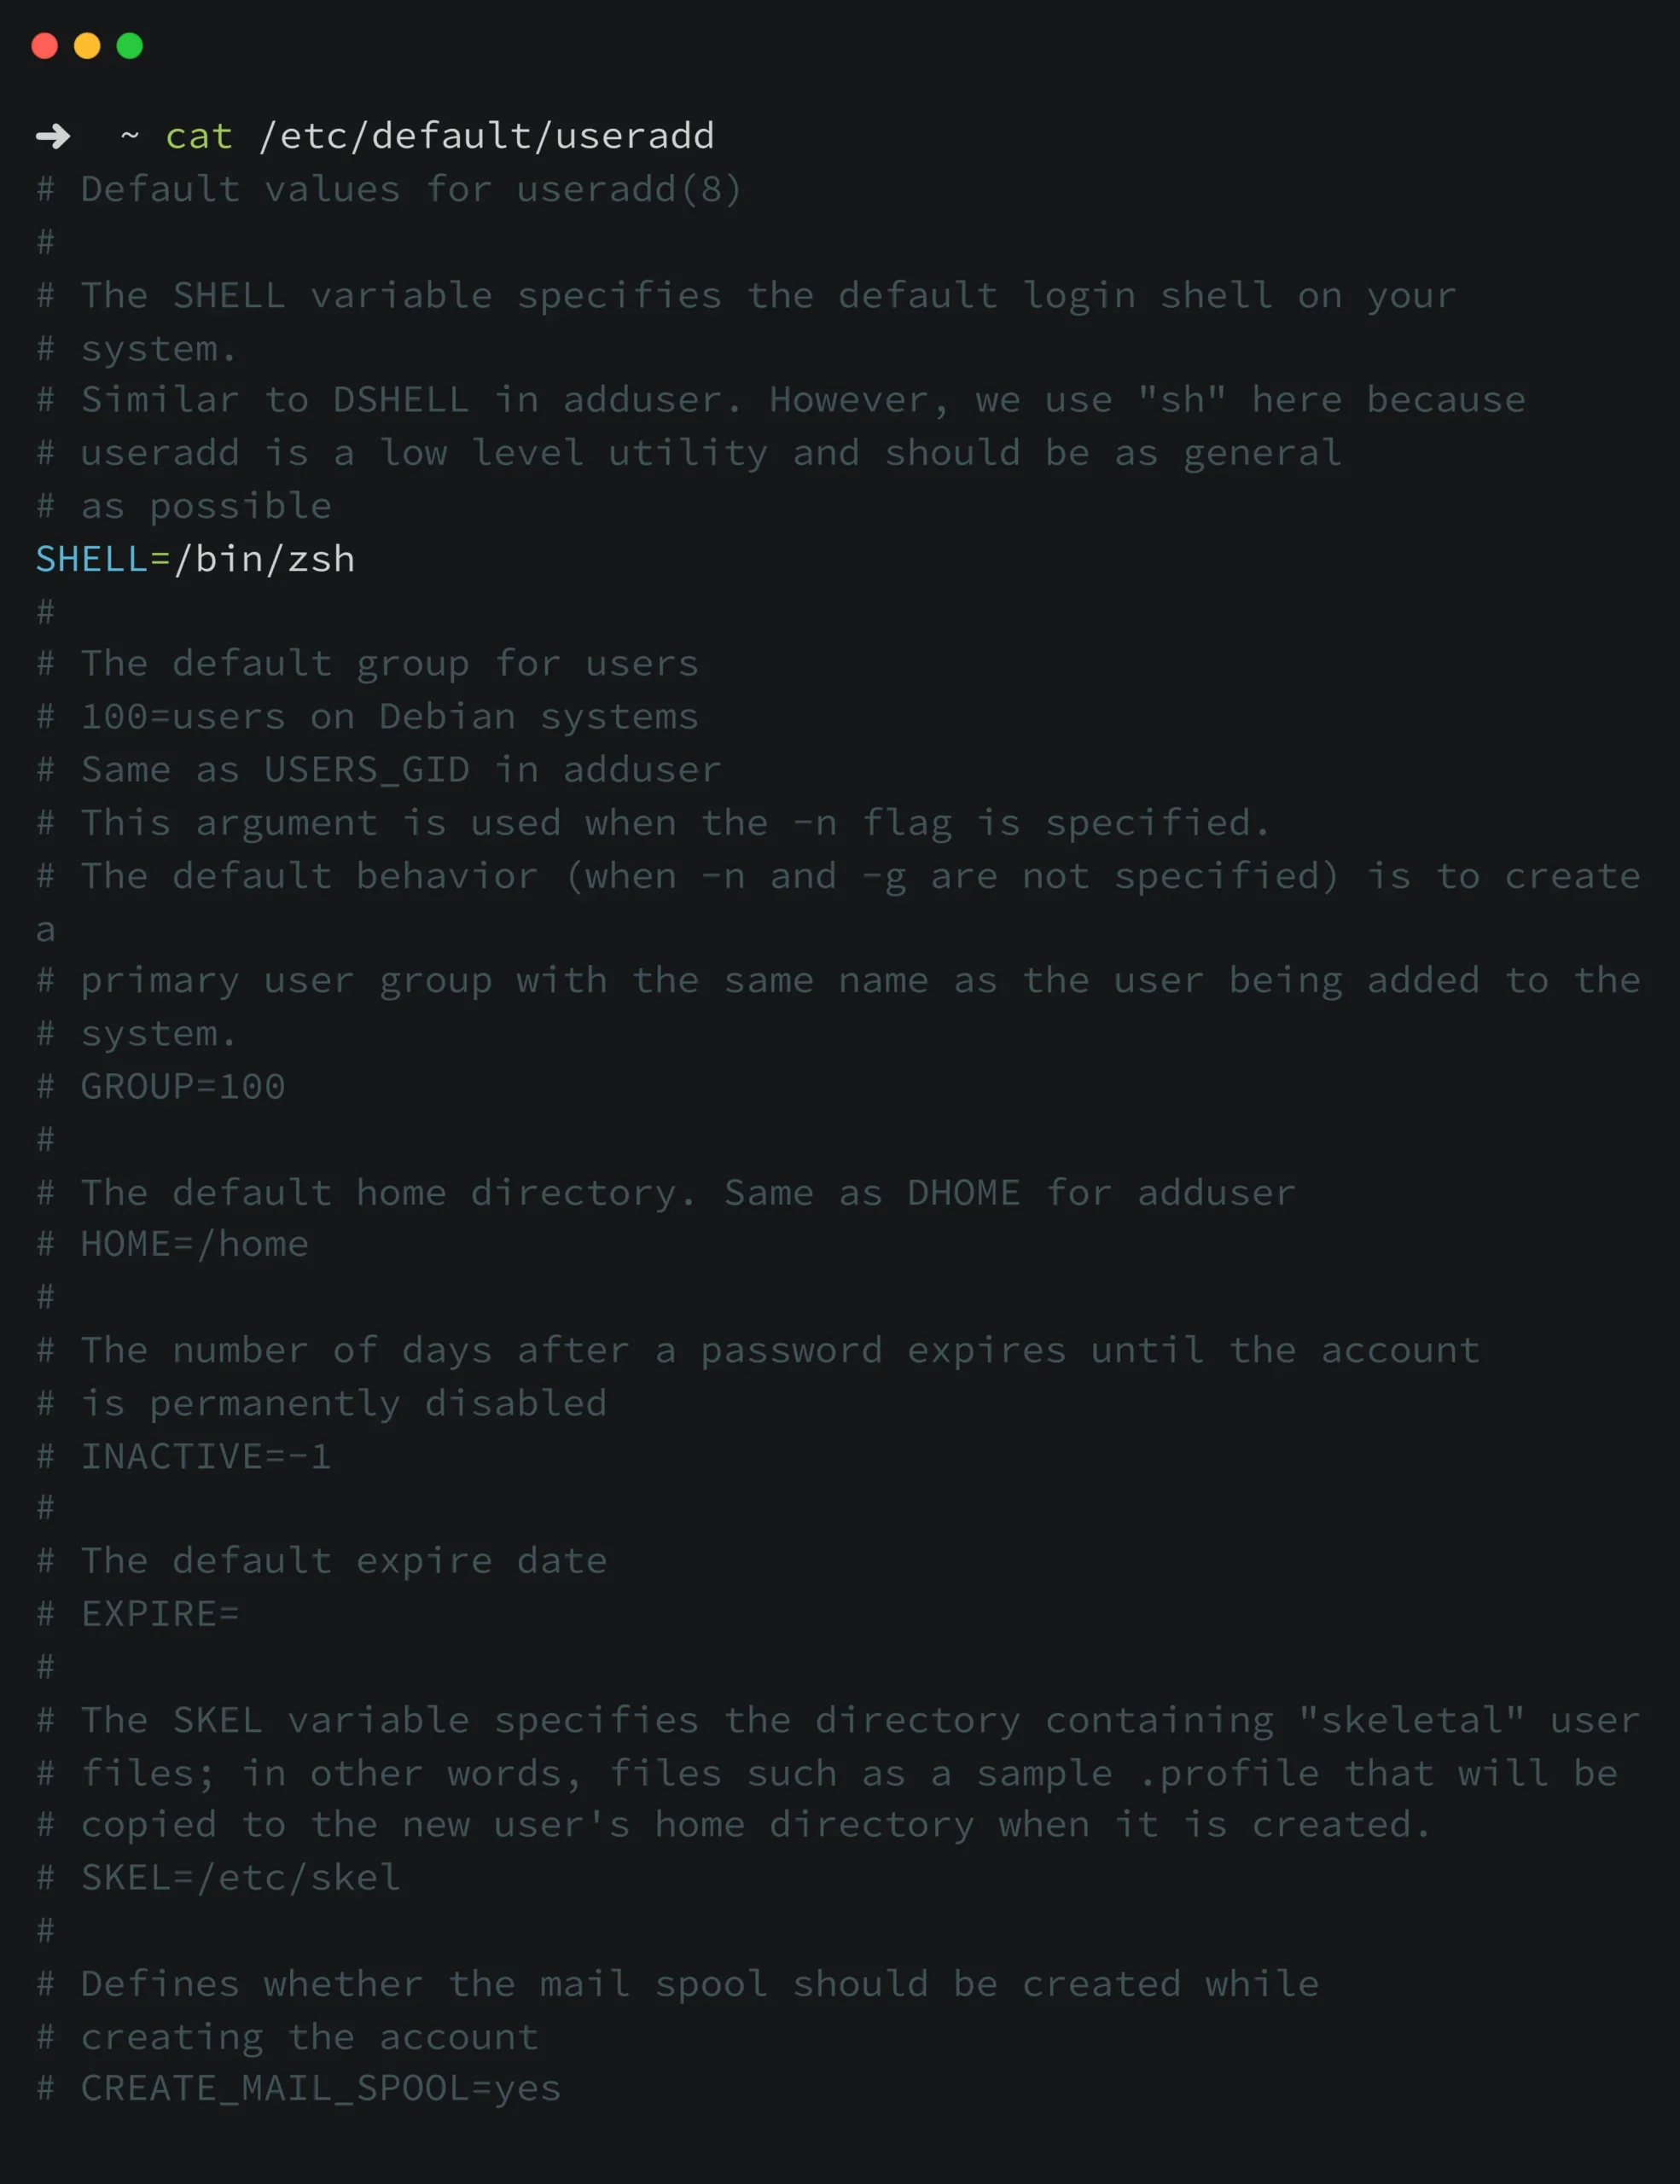
/etc/default/useradd
The /etc/default/useradd file provides additional settings for the useradd command. It has more control over default user account attributes such as default shell, default group, and whether to create a group with the same name as the user.
Some common parameters configured in /etc/default/useradd include:
SHELL: Specifies the default login shell for new user accounts.
GROUP: Specifies the default group name or ID for new user accounts.
CREATE_MAIL_SPOOL: Controls whether to create a mail spool for the new user (yes or no).
Let’s check some of the most useful options available with the useradd command.
Explicitly Specifying Home Directory
The useradd command by default create a user’s home directory based on the provided username, without explicitly specifying the home directory using the -d option.
If you want to specify a custom home directory for the user, then you can use the -d option.
sudo useradd -d /path/to/custom/home aaron
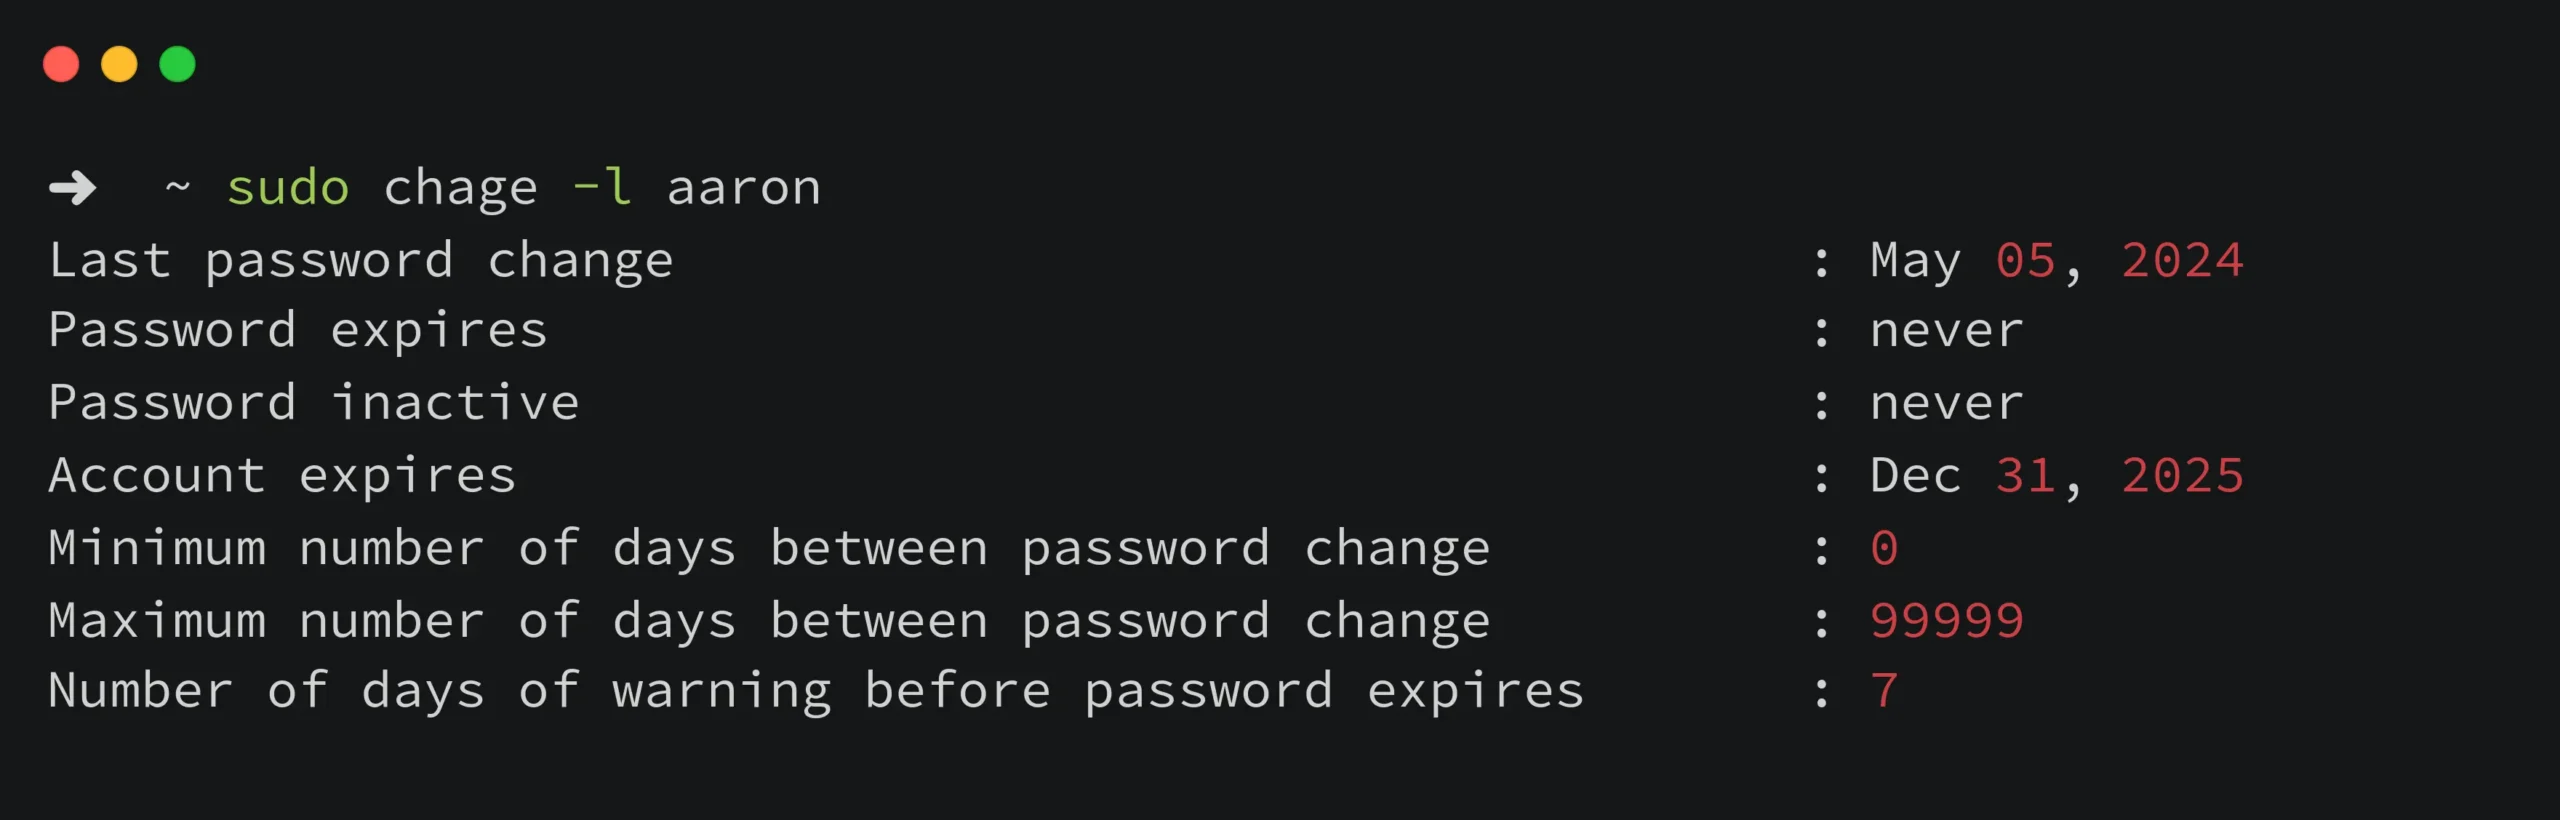
Setting User’s Expiry Date
Set an expiration date for the user account (in YYYY-MM-DD format). You can use the option -e, --expiredate EXPIRE_DATE
sudo useradd -e 2025-12-31 aaron
This option creates a user aaron whose account will expire on December 31, 2025.
Adding User to Secondary Groups
To add user to seconday group other than primary group, you can specify a comma-separated list of seconday groups for the user. You can use the option -G, --groups GROUPS
sudo useradd -G sudo,staff aaron
This option creates a user aaron and adds them to the sudo and staff secondary groups.
Specifying Login Shell
For setting a custom login shell for the user use option -s, --shell SHELL
sudo useradd -s /usr/bin/zsh aaron
This option creates a user aaron and sets their login shell to /usr/bin/zsh.
User with non-interactive shell / Account
For creating a user account with non-interactive shell / account, you can use the option -r, --system This option assigns a UID (User ID) below the standard range for regular user accounts and sets a non-interactive shell as the login shell.
sudo useradd --system aaron
If you’ve updated the default shell settings in /etc/login.defs or /etc/default/useradd and the -r or --system option for useradd is not behaving as expected, you can specify a non-interactive shell using the -s or --shell option. This ensures that the created user is assigned the correct shell, regardless of the system-wide defaults.
You can either use /usr/sbin/nologin or /bin/false for non-interactive shell.
The choice between /usr/sbin/nologin and /bin/false for a non-interactive shell depends on whether you want to display a custom message (nologin) or simply deny login without any message (false). The /usr/sbin/nologin is more user-friendly; It prints a custom message, whereas /bin/false exits immediately without any message.
Ensure that the path to the non-interactive shell (/usr/sbin/nologin or /bin/false) is correct and exists on your system.
Using /usr/sbin/nologin
sudo useradd --system -s /usr/sbin/nologin aaron
This will create a system user --system with the non-interactive shell /usr/sbin/nologin
Using /bin/false
sudo useradd --system -s /bin/false aaron
This will create a system user --system with the non-interactive shell /bin/false
Creating User’s Home Directory
By default, the useradd command reads the default value for creating a user’s home directory from the /etc/login.defs file. The parameter CREATE_HOME in this file determines whether a home directory should be automatically created for new users.
If CREATE_HOME is set to no, the useradd command will not create a home directory automatically for the new user. In such cases, you can use the -m or --create-home option to create the user’s home directory.
sudo useradd -m aaron
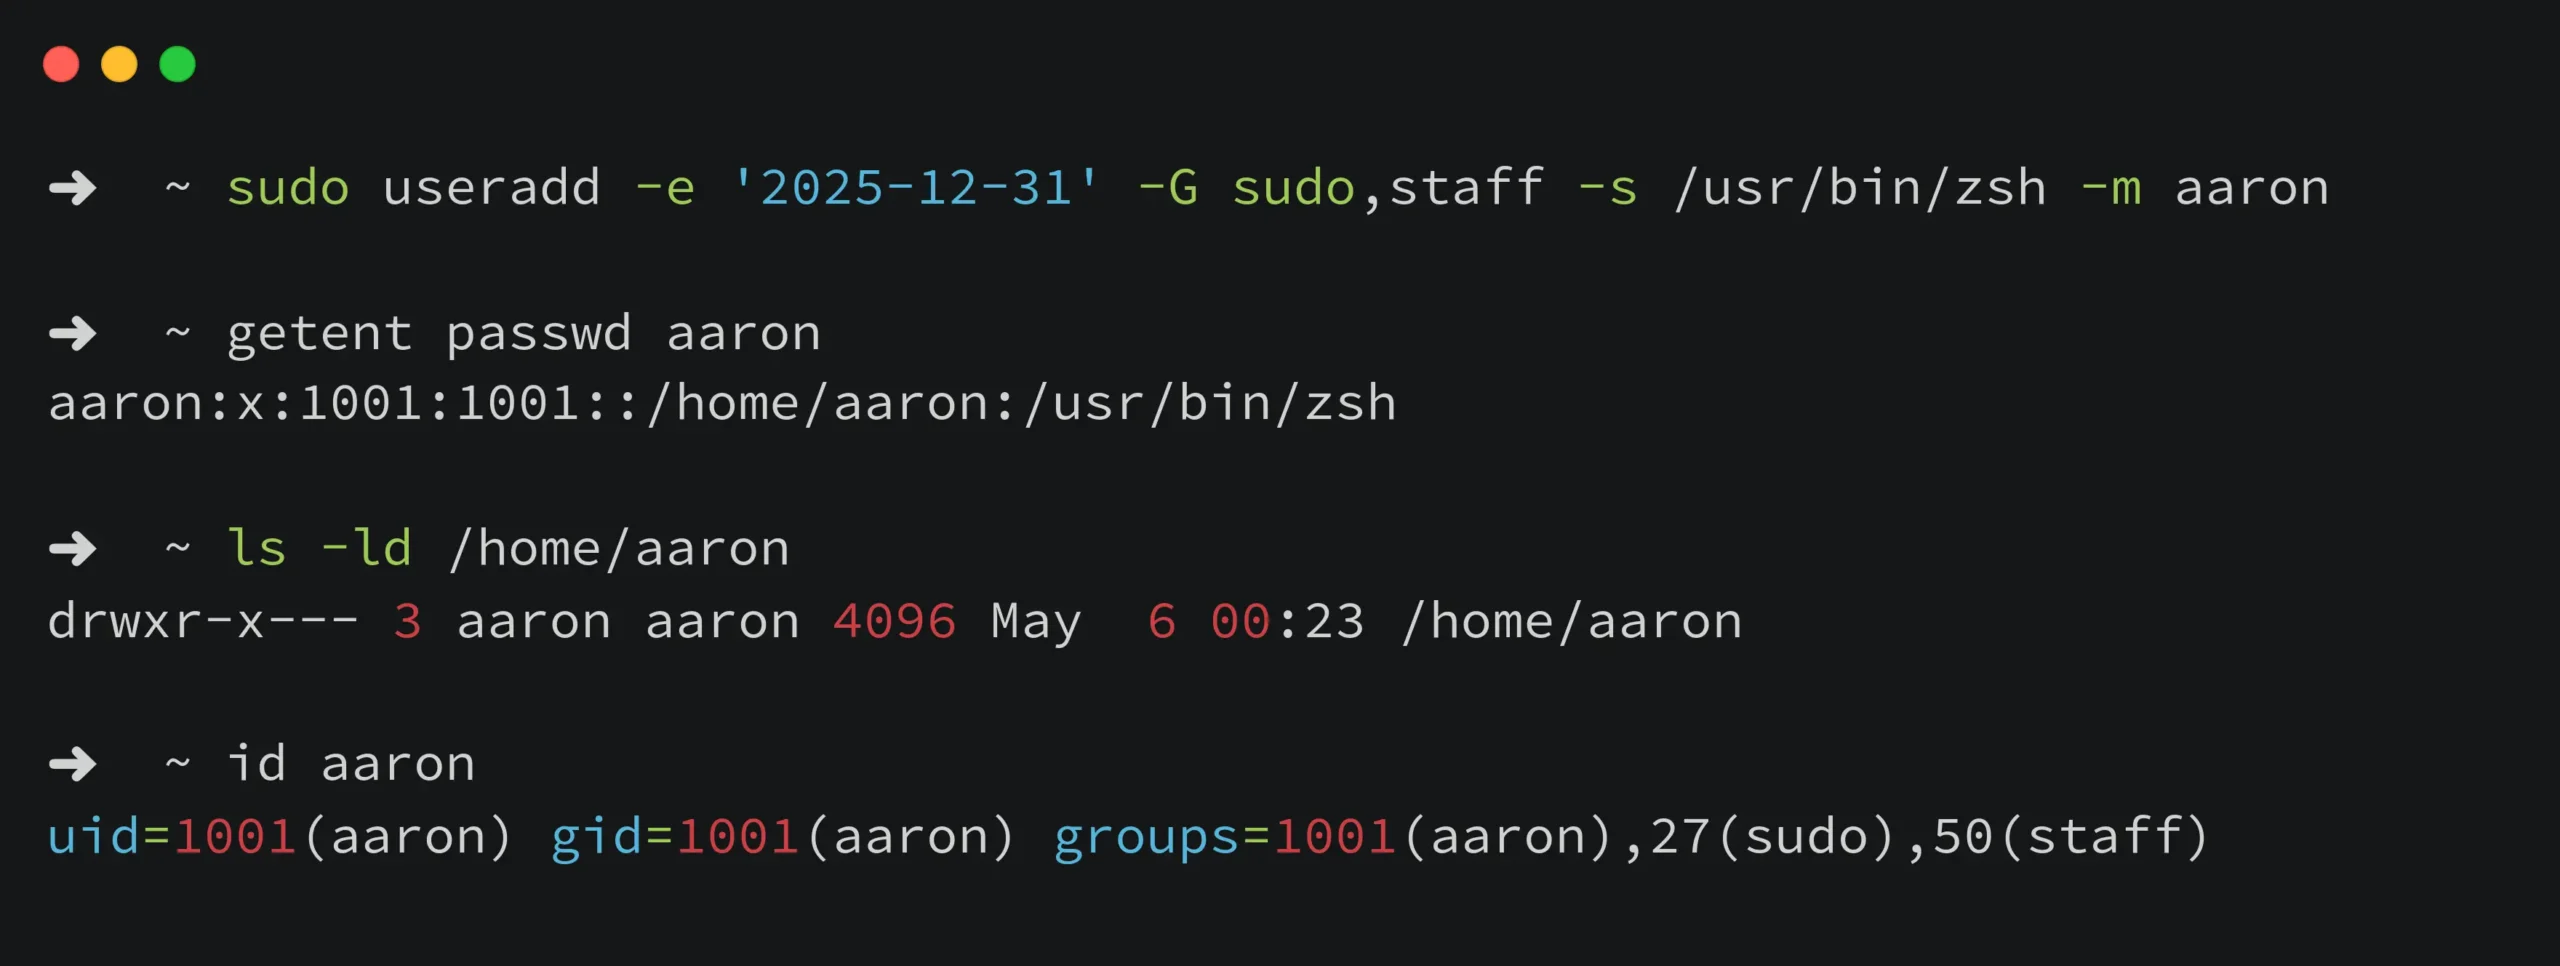
Customized User Creation
We will create a user named Aaron with the default home directory, expiry date, secondary group, and a custom login shell with the specified attributes.
Home directory: /home/aaron (created automatically due to the -m option)
Expiry date: December 31, 2025
Secondary groups: sudo, staff
Login shell: /usr/bin/zsh
sudo useradd -e '2025-12-31' -G sudo,staff -s /usr/bin/zsh -m aaron

Modifying User Settings With usermod
The usermod command is used to modify user account settings after user creation, such as username, home directory, group membership, etc.
Changing User’s Home Directory
You can change the home directory of an existing user using -d, --home
sudo usermod -d /home/newhome aaron
This will modify the user’s home directory to/home/newhome
Adding User to Additional Groups
To add user to secondary groups without removing existing group memberships, you can use -aG, --append-group
sudo usermod -aG groupname aaron
This will add the user to a secondary group groupname in addition to existing groups.
Refer to man usermod for more options and detailed usage of the usermod command, or you can refer usermod
The useradd command is one of the basic tool for adding users on a Linux system, while usermod allows for modifying user properties after user creation. Make sure to know the role of configuration files like /etc/passwd and /etc/shadow.
Managing password properties using passwd command is also essential. You can also check about setting password expiry.
By following this How-To guide, you can efficiently manage user accounts and maintain system security on Linux systems. Make sure to refer to the respective manual pages man pages for detailed usage and options of these commands.
Got any queries or feedback? Feel free to drop a comment below!